The Ultimate Guide to Making Restaurant-Quality Crackling Pork at Home
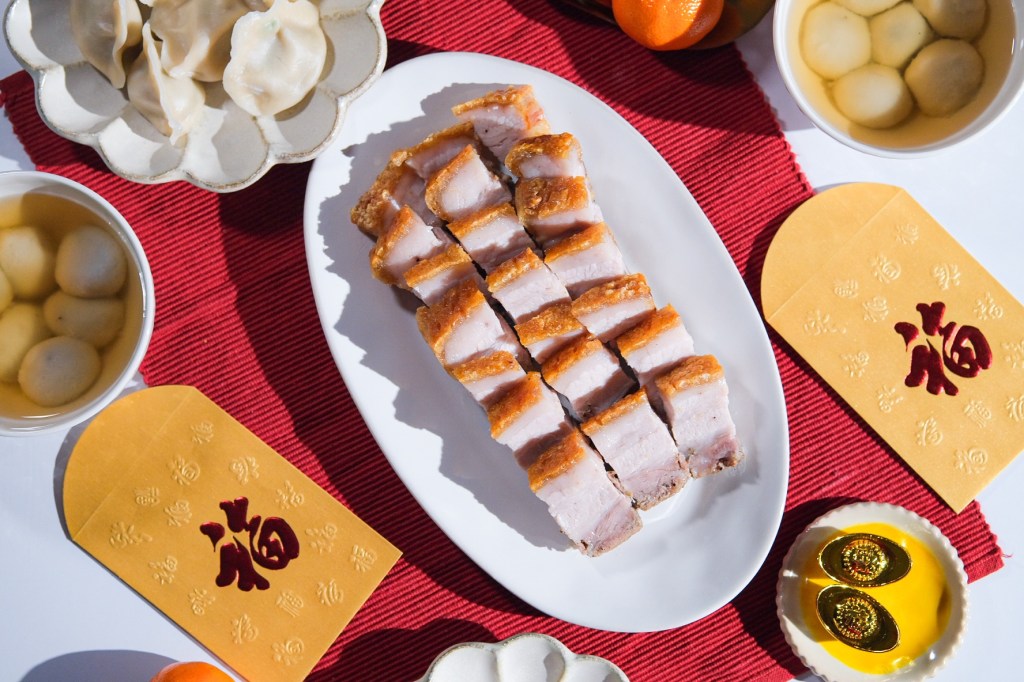
There’s a sound that defines Lunar New Year in my family: the crackle of perfectly crispy pork skin as it’s sliced into golden pieces. Siu yuk (烧肉), or Cantonese crispy pork belly, has always been my brother’s favourite dish. I still remember my parents lining up for almost two hours in the cold outside cantonese butchers just to get a fresh slab for our celebration. As Canadian-born kids, this tradition connected us to our heritage in the most delicious way possible.
This year, my brother is coming home for Lunar New Year for the first time in years, and instead of waiting in line, I’m perfecting this recipe myself. Using an air fryer makes it so much easier to achieve that iconic crackling skin, and I love being able to control the saltiness and flavour to our family’s taste.
If you’ve ever wondered how to make crispy pork belly at home with that signature bubbly, golden skin, this foolproof recipe will get you there.
What Makes Siu Yuk So Special?
Siu yuk is a beloved Cantonese roast pork dish known for its incredibly crispy, bubbly crackling skin and tender, flavourful meat. It’s a staple at dim sum restaurants, Chinese BBQ shops, and most importantly, at celebration tables during Lunar New Year, where it symbolizes abundance and prosperity.
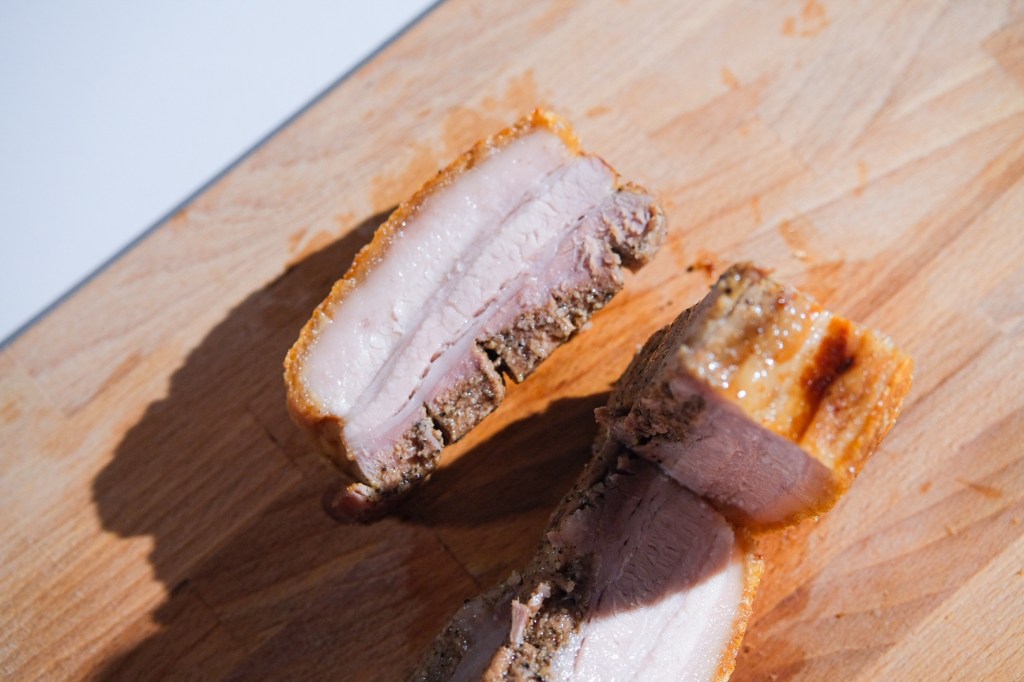
The key to authentic siu yuk is achieving five distinct layers in the pork belly:
- Ultra-crispy crackling skin
- Rendered fat layer
- Tender meat
- Another fat layer
- Bottom meat layer
Ingredients for Crispy Pork Belly (Siu Yuk)
Main Ingredient:
- 1–2 lb (500–900g) pork belly with skin on (look for evenly layered belly with good fat-to-meat ratio)
For the Skin:
- 1 tsp salt
- 1 tsp vinegar (white vinegar or rice vinegar)
Meat Seasoning:
- 2 tsp Five Spice Salt (or substitute with 2 tsp salt + ½ tsp five spice powder)
- ½ tsp white pepper
- 1 tbsp Shaoxing wine (Chinese cooking wine)
- 1 tsp sugar
Equipment Needed:
- Sharp knife for scoring
- Air fryer
- Aluminum foil
- Toothpicks
- Paper towels
Step 1: Boil the Pork Belly (8 minutes)
Place your pork belly skin side down in a pot with enough water to cover up to the skin level. Boil for 8 minutes. This crucial step helps loosen and gelatinize the skin, which creates the foundation for that bubbly crackling texture.
After boiling, remove the pork and pat the skin completely dry with paper towel.
Step 2: Score and Season the Meat
Flip the pork belly over so the meat side is facing up. Using a sharp knife, score the meat in a crosshatch pattern (lengthwise and horizontally), cutting deep but not all the way through to the skin layer. You should be cutting through the meat and fat layers only.
Mix together your meat seasoning
Brush this seasoning mixture all over the meat side and into the scored crevices so the flavour penetrates deeply.
Step 3: Create an Aluminum Foil Boat
Place the pork meat side down on a sheet of aluminum foil. Fold the foil up around the sides to create a “boat” that covers only the meat and sides. Leave the skin completely exposed and uncovered. This protects the meat from drying out while allowing the skin to dehydrate and crisp.
Step 4: Poke Holes in the Skin
Pat the skin dry again with paper towels until it’s completely moisture-free.
Take two toothpicks and poke as many holes as you possibly can into the skin. Important: Only pierce the skin layer. Don’t poke all the way into the meat. The more holes you poke close together, the better the skin will bubble up and form that signature crackling texture. This allows moisture to escape and fat to render.
Step 5: Salt Treatment
Sprinkle 1-2 tsp of salt evenly across the entire skin surface, making sure it’s well covered. Let it rest for 5 minutes. The salt draws out moisture from the skin.
After 5 minutes, wipe off all the salt from the skin using a paper towel or use a knife to scrap it off.
Step 6: Vinegar Application
Brush 1 tsp of vinegar (white or rice vinegar) all over the skin. The acidity of the vinegar helps break down the collagen in the skin, making it more porous and allowing it to puff up more dramatically when cooked. It also helps tenderize the skin layer slightly, which contributes to that melt-in-your-mouth crackling.
Step 7: Refrigerate to Dry (4 Hours to Overnight) – RECOMMENDED
Place the pork belly (still in its foil boat, skin exposed) in the refrigerator uncovered for at least 4 hours, or ideally overnight. The cold, dry air of the fridge will dehydrate the skin, making it hard and dry to the touch. This is essential for achieving maximum crispiness.
The skin should feel dry and slightly hard when you’re ready to cook.
Quick Method (If You’re Short on Time):
If you don’t have time to wait, you can use this faster method:
- Cover the entire skin with a thick layer of salt (about 3 tbsp)
- Place in the air fryer at 340°F for 30 minutes
- Remove and brush off all the salt
- Continue to Step 8 below
Step 8: Air Fry the Pork Belly
First Stage – Low and Slow: Place the pork belly (in its foil boat) in the air fryer at 340°F for 25 minutes (or 30 minutes if using the quick salt method). This gently cooks the meat through and begins rendering the fat.
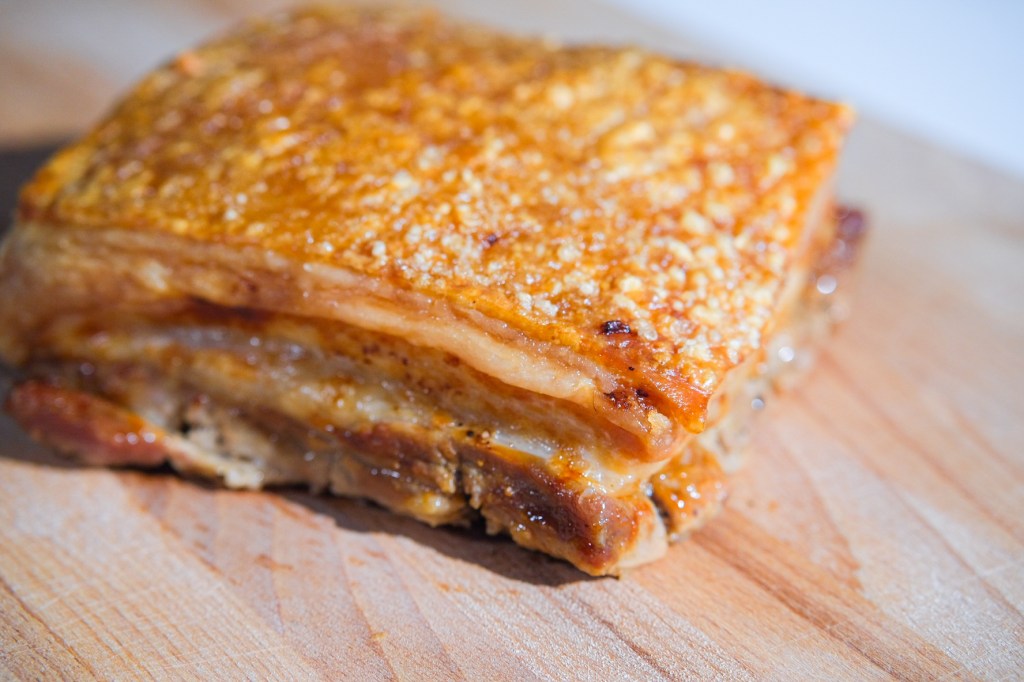
Second Stage – High Heat for Crackling: Increase the temperature to 400°F and cook for 6-12 minutes. Keep a close eye on it! Different air fryers vary in intensity, so start checking at the 6-minute mark. You’re looking for the skin to bubble up and turn a deep golden brown.
The skin should be puffed, crispy, and beautifully blistered when done.
Step 9: Rest, Slice, and Serve
Remove the pork from the air fryer and let it rest for 5 minutes. This allows the juices to redistribute.
Using a sharp knife or cleaver, cut the pork belly into bite-sized pieces. You should hear that satisfying crackling sound as you slice through!
Serve immediately while the skin is at its crispiest. The contrast between the crunchy skin and tender, juicy meat is absolutely incredible.
Have you tried making siu yuk at home? Share your results and tag me (@pistachiopicks) I’d love to see your crispy creation!
